
So you’ve got your seedlings big enough to transplant. Congratulations! Sometimes that’s not the easiest thing to do successfully. The process of “hardening off”, which is how you condition your baby plants to withstand the rigors of the outdoor world, is the next step to success.
1. Move your plants outdoors on a warm day and place them in a protected, shady area. They should be in a sheltered area so no strong winds will damage them. If you still have a danger of frost in your planting zone, bring them in if frost threatens. Do not place them in direct sun as they will get fried.
2. After 3 or 4 days in a shaded, protected area, move them to a spot where they will receive sun a few hours each day while still safe from strong winds. Continue to check to make sure they are moist as plants will dry out much quicker outside especially if there is moderate wind. In addition, bring them inside if frost is possible.
3. Now you can expose them to full sun as long as they are not a shade loving plant. Just make sure they don’t dry out. If it is a very hot day, you may wish to partially shade them.
4. Now you are ready to transplant your seedlings into your garden if you have passed the frost-free date in your area. Just keep an eye on the weather forecast so you may choose the best time to plant. It is best to choose a cloudy day. Be sure your soil has been loosened and amended, if necessary, and using a trowel or another tool like a small shovel, prepare the hole where you will be planting your seedling.
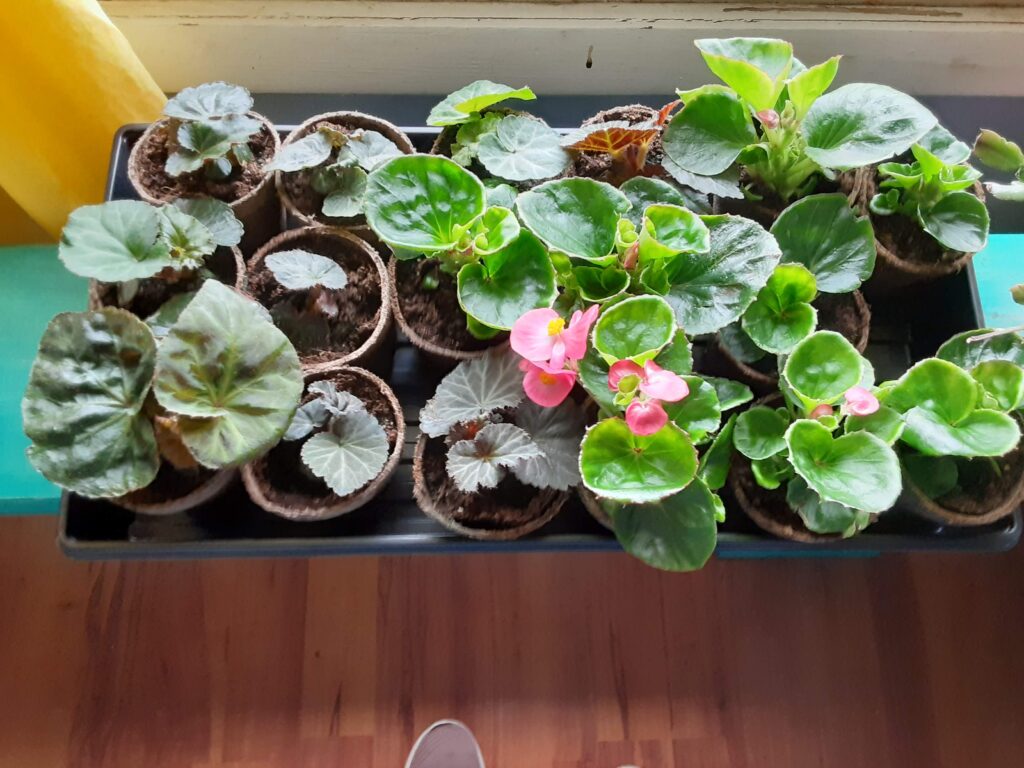
5. Place the plant in the hole and if using peat pots, just plant the whole pot. If you are removing it from a plastic or clay pot, fan out the roots and fill in with the soil excavated in that spot. Set the plant as it grew from the soil; in other words where the stem protrudes from the planting medium or potting soil. Too deep or too shallow, and your plant will struggle to thrive. One exception to this is tomatoes. You can strip some of the leaves and side shoots from the bottom of the stem, and plant the tomato plant deeper. It will produce new roots along the buried part of the stem to encourage your plant to be huskier and produce more fruit.
6. Firm the soil around the plant, and then water to remove any air spaces around the roots which could hinder root development. Mulch around your seedling with a product of your choice-wood chips, straw, pine needles or other organics. These will add to your soil fertility over time. You may also use organic or chemical fertilizer, but be sure to apply at the recommended rate, or you can burn your plant if you exceed the amount specified. Do not apply fertilizer until you see some growth on your seedling.
7. Continue to monitor your new plants in the coming weeks to ensure adequate moisture and observe for any pests that may arrive. Encourage the birds in your area by bird feeding in the winter and bird baths for their water needs, and they will help you keep your plants pest free. If you want to encourage butterflies such as the Monarch, understand that some plants are hosts for them, and plants such as milkweed shouldn’t be sprayed if you want to participate in helping endangered species of butterflies and bees survive. One good resource for information on this is Prairie Moon Nursery which displays the Circle of Life video. This will inform you how to restore habitat for pollinators. If you download their catalog, it will show you the endangered insects and their host plants.